How to Create a Room-to-Room Maze Worksheet
If you want to build a maze worksheet with clear chambers instead of one big block of corridors, the easiest workflow is to start with a normal maze in Maze Creator, then turn selected areas into rooms directly on the canvas.
This article follows the exact workflow from the captured screenshots and screencasts: start a new maze, choose a basic layout, size the grid, drag-select cells, turn them into Room areas, export the maze, then customise it further in PowerPoint if you want a finished themed worksheet.
Here is the printable pirate maze worksheet this process can become after exporting the maze and adding your own clipart in PowerPoint:
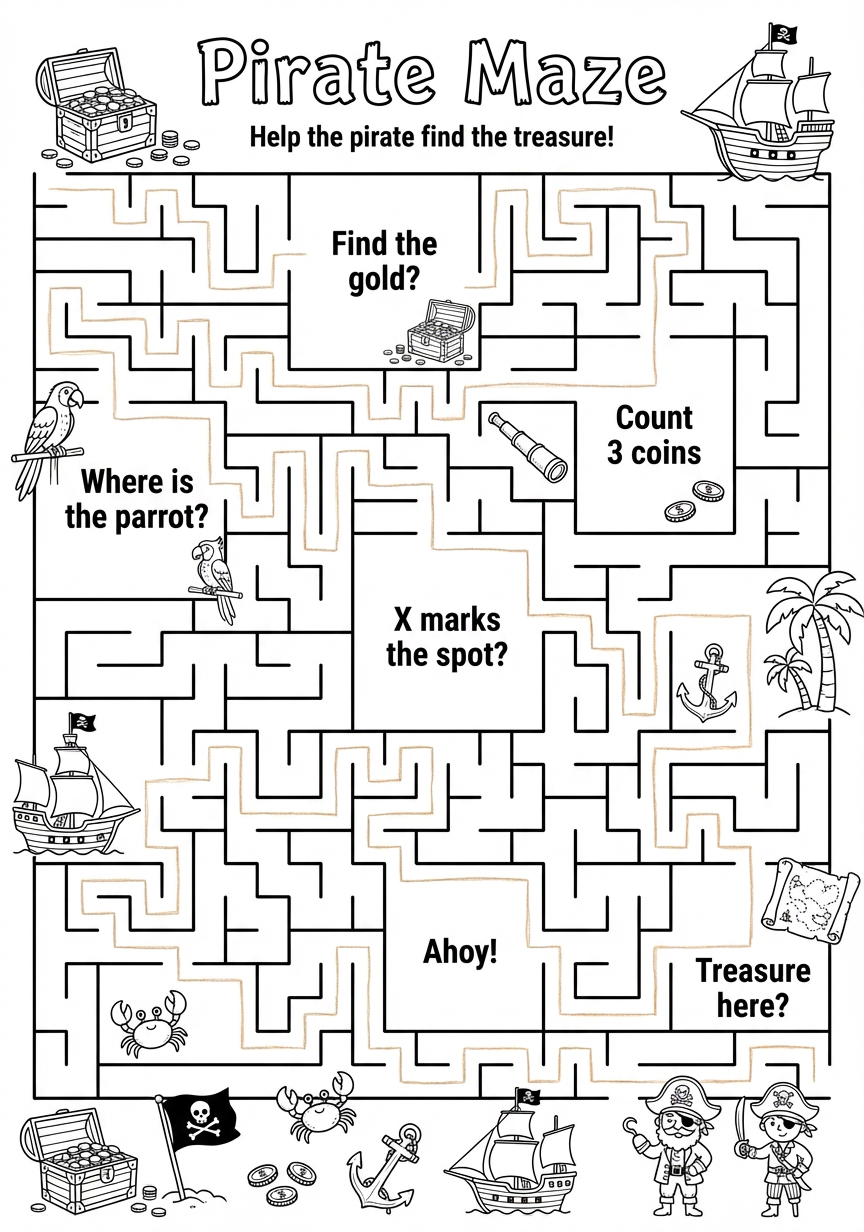
Target example: this is the finished pirate worksheet version, built from a Maze Creator export and then customised in PowerPoint.
Before you start: what Room, Empty, and Maze mean
In Maze Creator, every selected group of cells can be turned into one of three things:
- Maze means normal maze space. These cells behave like the usual maze and are used for corridors, branches, and dead ends.
- Empty means removed space. These cells are cut out of the maze completely, which is useful when you want blank areas or want to carve the shape.
- Room means an open chamber inside the maze. A room is made from a block of selected cells, and it creates a bigger destination area instead of a tight corridor.
The easiest way to think about it is this:
- Use Maze for travel space.
- Use Room for intentional destinations.
- Use Empty for space you do not want the maze to occupy.
That distinction is what makes room-based worksheets feel structured instead of random.

Screenshot 1: Start by creating a new maze.
Step 1: Create a new maze
Open My Mazes and click Create New Maze.
That takes you to the starter layout screen.
Step 2: Choose a simple starting layout
For this workflow, choose Classic Square.
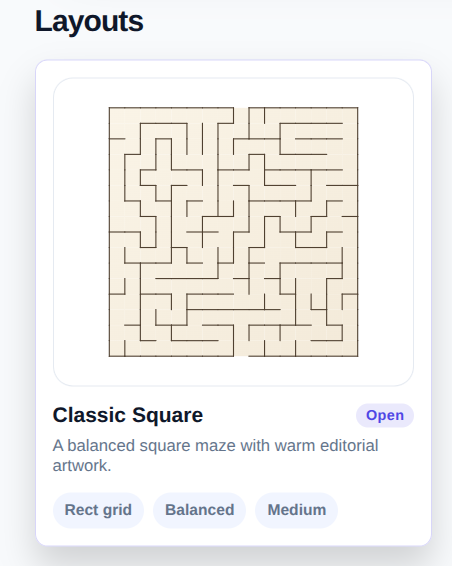
Screenshot 2: Classic Square is a good base because it gives you a clean rectangular maze to shape into rooms.
This is an ordinary rectangular maze to begin with. The room structure comes later when you paint selected areas as rooms.
Step 3: Set the grid size
In Grid & layout, set the maze dimensions.
The captured example uses:
- Rows:
21 - Columns:
16
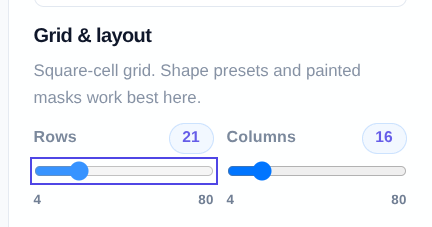
Screenshot 3: Set the maze size before you start painting rooms so the canvas has the proportions you want.
Other controls available from the start
As soon as the editor opens, there are a few other controls you can use if you want them.
You can drag the start and finish markers to different positions:
Optional control: the start marker can be dragged to a different entry point.
Optional control: the finish marker can be dragged to a different exit point.
You can also open Appearance to preview different themes, wall colours, room fill colours, and solution styles:
Optional control: the Appearance tab lets you preview how the maze will look before export.
Those are useful options, but the main room-building step happens on the canvas itself.
Step 4: Create rooms directly on the canvas
This is the key step.
To create a room:
- Drag across the cells you want to change.
- Release the mouse to keep that block selected.
- Use the floating action that appears above the selection.
- Click Room.
That is the part many people miss. There is not a separate room drawing panel. You create rooms by selecting cells on the maze itself, then choosing Room from the floating Maze / Empty / Room actions.
Screencast 1: Drag-select a block of cells, then choose Room from the floating control to create a room.
This is also where the three cell types become practical:
- Click Room to make an open chamber.
- Click Maze to turn the selected area back into normal maze space.
- Click Empty to remove that area from the maze.
Repeat that process anywhere on the canvas until the maze has the structure you want.
Step 5: Export the maze
When the room layout is ready, open Export.
Maze Creator lets you export:
- SVG
- PNG
- PPTX
Each format can be downloaded as:
- Maze only
- + Solution
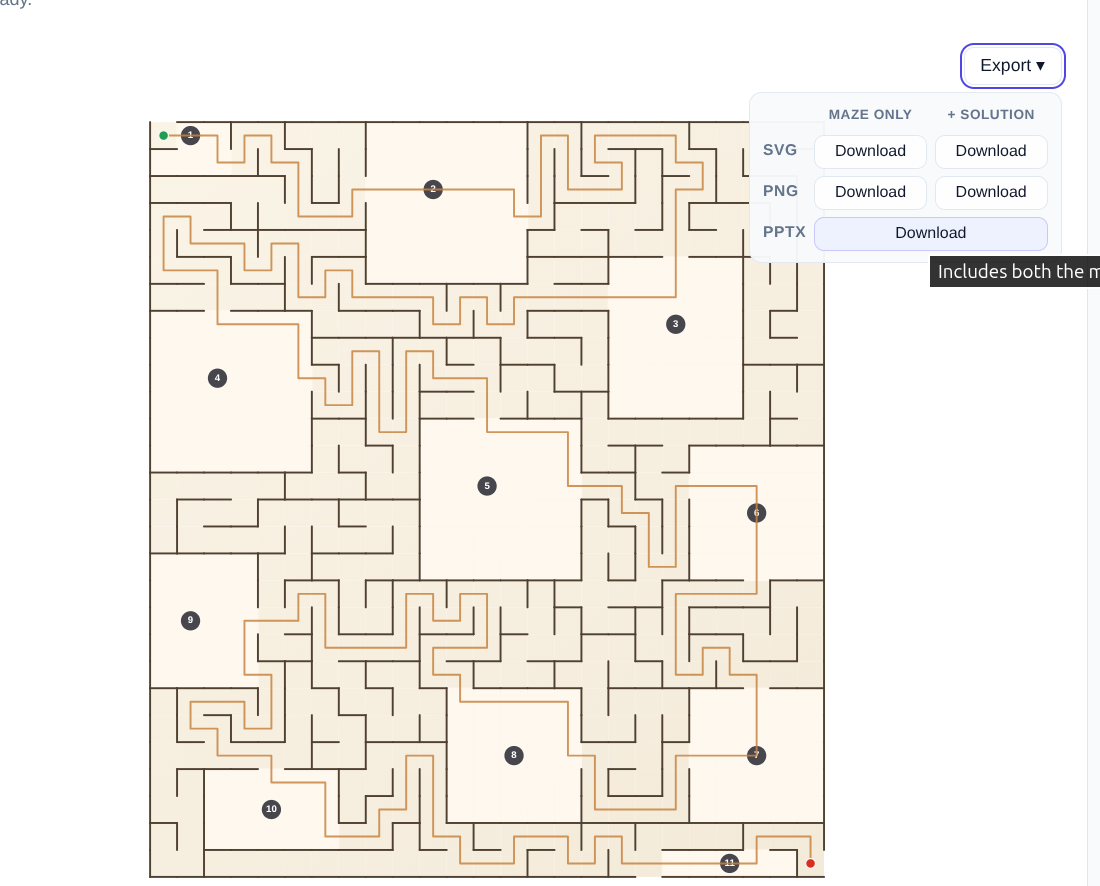
Screenshot 4: Export the finished room-based maze as SVG, PNG, or PPTX, with or without the solution.
If you want to finish the design in PowerPoint, PPTX is usually the easiest option.
That gives you a clean maze base to decorate with your own titles, pirate clipart, prompts, and other worksheet styling afterwards.
Final workflow recap
- Click Create New Maze
- Open Classic Square
- Set the grid size
- Use the editor controls if you want to move the start, finish, or preview the appearance
- Drag-select cells on the canvas
- Use Room, Empty, or Maze to define each area
- Export the finished maze
- Customise the exported maze in PowerPoint if you want a finished themed worksheet
That gives you a repeatable way to build maze worksheets with deliberate room sections in Maze Creator, then turn them into polished printable activities afterwards.